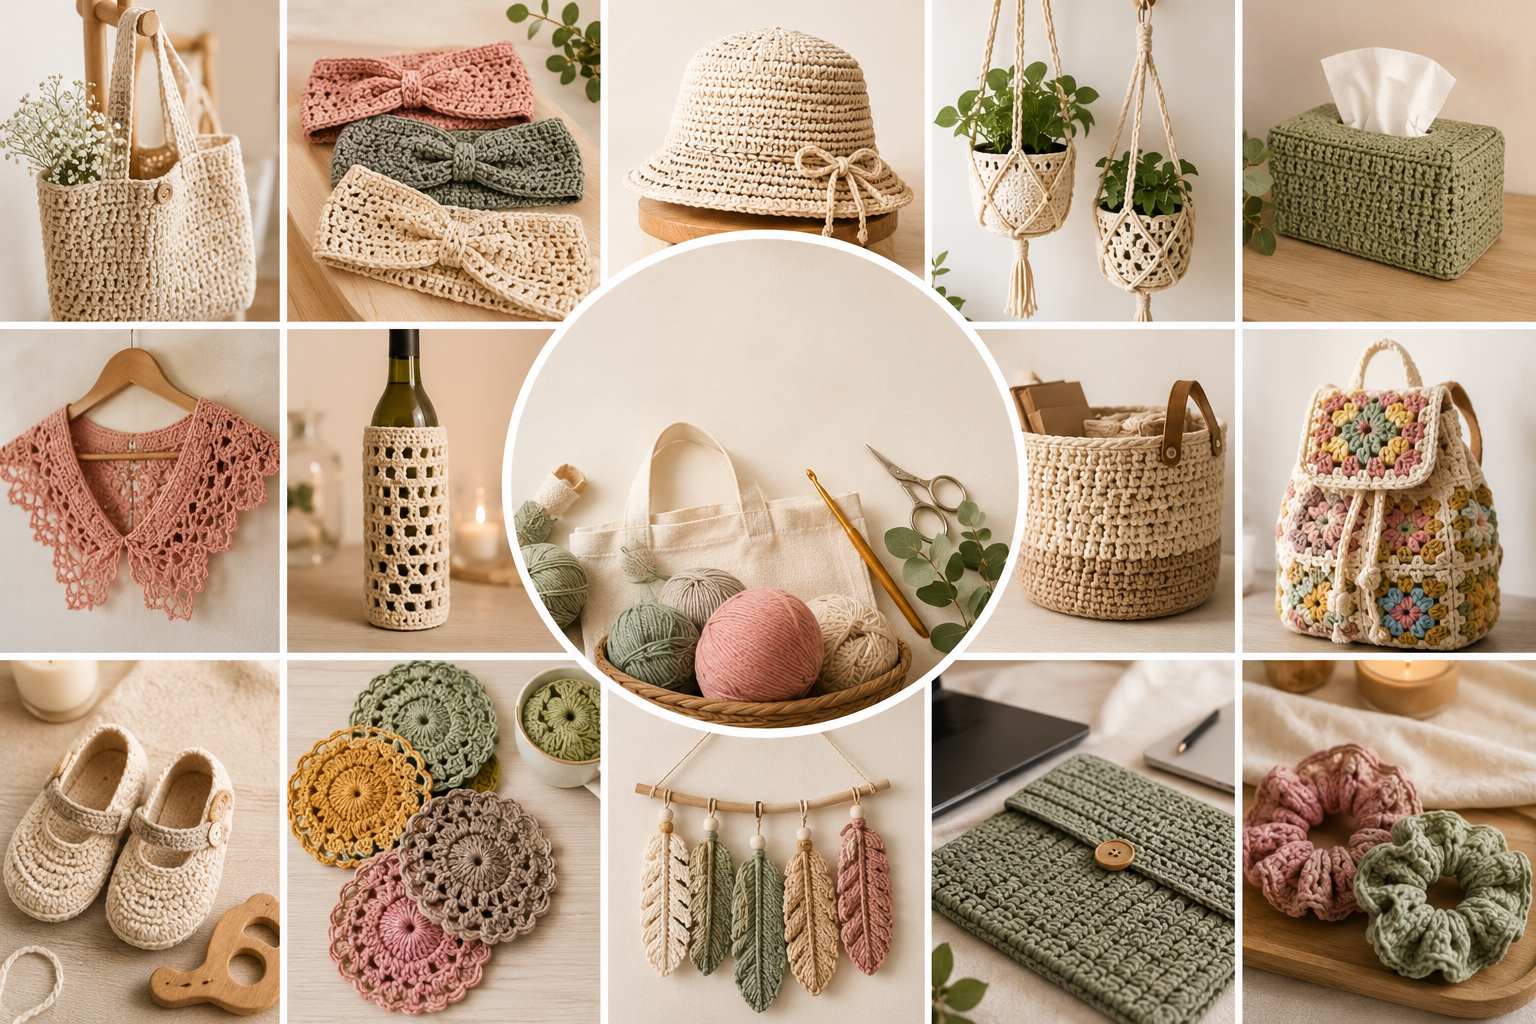
Over three years of staging work taught me one clear thing: simple setups make handmade items shine online. You do not need a studio to get Pinterest-worthy photos. A clean, clutter-free background is the first step to keep the viewer’s eye on the piece.
Good light and a neutral backdrop often beat fancy gear. Whether you use a phone or a camera, aim for steady shots that show yarn, stitches, and any embellishments. Small props can add scale, but remove distracting patterns so the project stays the focus.
Spend a bit of time learning basic editing and composition. That extra work helps your posts look professional and invites potential customers to stop and look. With practice, your pictures will better reflect the care you put into every part of each item.
Essential Crochet Product Photography Tips for Your Business
Clear, well-lit shots matter more than expensive gear when showing handmade work.
Nicola White of Team Bella Coco reminds makers that a phone can capture great photos if you use natural light and steady framing. Turn off ceiling lamps to avoid color casts and shoot near a bright window instead.
For sharper detail, many sellers upgrade to a DSLR. The Canon EOS Rebel T2i with a macro lens is praised for crisp foregrounds and soft bokeh. Still, a camera is optional when you know how to position and style your item.
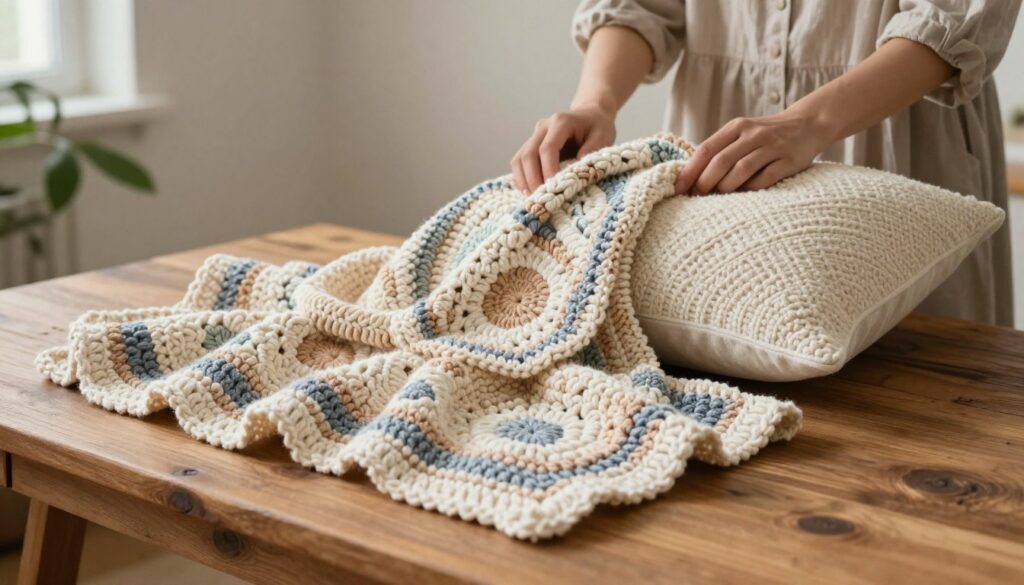
Take pictures as soon as you finish a project so stitches sit right. Look around your home for simple props — a wine glass can prop a hat — but keep backgrounds neutral so the work stays central.
“Practice shooting the same piece in different light and angles; skills grow the same way they did when you learned to crochet.”
Make time to practice. Small changes in light, angle, or prop choice make a lot of difference in how a post converts.
Mastering Natural Light for True Color Representation
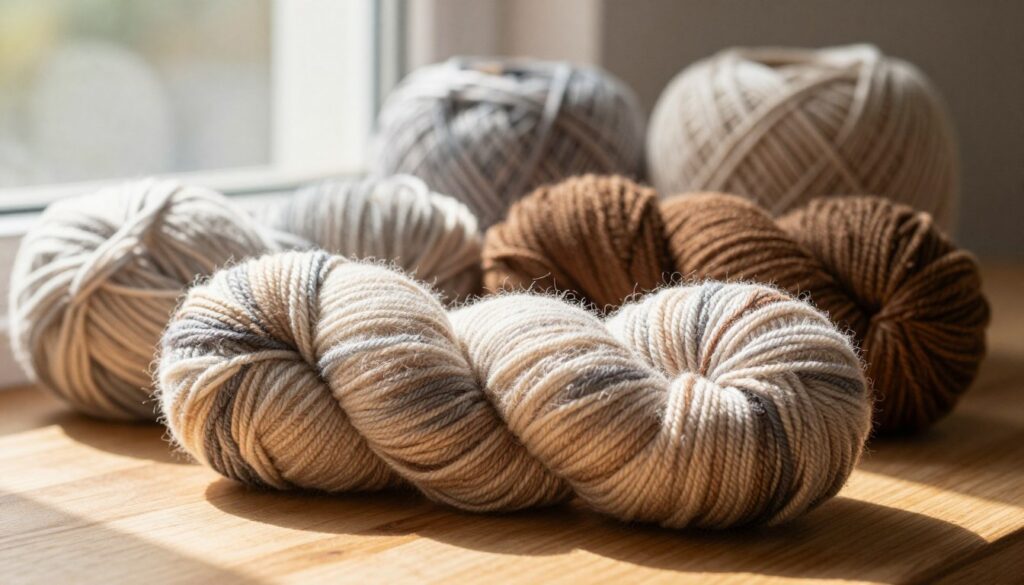
Soft daylight through a window reveals the true shades and texture of any handmade yarn item.
Natural light is the best way to show accurate color and stitch detail. Position your work near a window so soft, even light fills the frame without harsh shadows.
Avoiding Direct Sunlight
Do not shoot in direct sunlight. Sunbeams can wash out color, bleach tones, and cast strong shadows that hide texture.
Tilting shades or moving the piece a few feet from the glass will tame bright rays. Never use flash — it flattens stitches and ruins the natural look.
Working with Overcast Days
Cloudy skies are ideal. Clouds act as a natural diffuser and give steady light for both indoor and outdoor pictures.
If you step outside, find a shaded spot to keep light even. Clear clutter so nearby objects do not absorb or color the light.
| Situation | Best Approach | Why it Works |
|---|---|---|
| Bright sun | Move to shade / tilt shades | Prevents washed colors and harsh shadows |
| Overcast day | Shoot near window or in open shade | Clouds diffuse light for even tones |
| Indoor window | Use white wall or bedding to bounce light | Creates soft fill and highlights texture |
Consistent lighting saves time and helps your photos look professional. Follow these simple photo guidelines and your pictures will better match real-life color and feel.
Selecting the Perfect Backgrounds and Backdrops
Backgrounds shape how viewers see color, texture, and scale in a photo.
Pick a surface that removes glare and clutter. A clean, matte sideboard or dining table works well because it stops reflections and keeps the look simple.
Affordable backdrops give big results. For large throws, brown mailing paper or Ikea drawing paper offers a smooth, inexpensive sweep. White poster board makes colors pop for smaller items.
DIY Backdrop Ideas
- Vinyl roll: a $29 sheet from Ink&Elm wipes clean and rolls up for storage.
- Painted wood panels: stain or paint a plank for a rustic surface under $5.
- Inside book covers: use a hardcover inner cover as a consistent foreground for small makes.
- Faux fur or textured blanket: adds depth and gentle texture when plain backgrounds feel flat.
When photographing a person, use a plain white wall to keep the image chic and focused. Remove personal objects and busy patterns so the viewer’s eye stays on your items.
Think about scale and height. A wooden ladder makes a striking prop for blankets and adds visual interest without stealing focus.
Styling Your Handmade Items with Props
Small styling choices help viewers imagine your work in real life. Use props to add scale and mood but keep the main piece centered. Stage shots soon after finishing so stitches sit right and the work looks its best.
Using Yarn and Hooks
Include your actual hook and a bit of leftover yarn for a behind-the-scenes vibe. A single skein loop or a neatly placed hook signals craftsmanship and adds texture.
Add small tools like stitch markers or scissors to suggest process, but place them off-center so the main item remains the visual anchor.
Incorporating Home Decor
Look around your home for simple props: a mug, a vase, or a folded placemat. Fresh flowers or a latte create lifestyle context that helps a post connect with buyers.
For wearables, use a mannequin or a friend to show fit. Keep backgrounds neutral so the scene reads cozy, not cluttered.
Keeping the Focus on Your Work
Less is more. If a picture starts to feel busy, remove one or two things until the piece stands out. Use double-sided tape to secure buttons and small embellishments so nothing shifts while you shoot.
Practice different layouts and make sure the final photos show scale, texture, and the item clearly.
Capturing Details from Multiple Angles
Vary your viewpoints—eye level, overhead, and low—so texture and scale read clearly.
Shoot lots of photos. The author takes 60–100 frames per project, then narrows them to two or three beauty shots that tell the story.
Capture the front, back, and sides of each item so buyers see seams, closures, and embellishments. For larger pieces like afghans, drape over a chair or climb a ladder for an overhead shot.
Stacking squares or rolling blankets creates depth and helps the eye travel through the picture. If you shoot a bag, stuff it so it holds shape in the frame.
If your hands shake, brace your elbow on a table or use a tripod for steady camera work. A macro lens or a phone in macro mode will highlight foreground texture while softening the background.
Before taking photos, make sure seams are hidden and tails are tidied. Try unusual spots—ground level or up high—to find a fresh way to show the item.
Editing Techniques to Make Your Photos Pop
Small, consistent edits help your feed read like a curated shop window.
Choose software that matches your workflow. PicMonkey and Snapseed let you adjust brightness, contrast, and color quickly. VSCO adds easy presets for a cohesive look. Photoshop gives detailed control to crop, resize, and add a logo for brand consistency.
Choosing the Right Software
Use one app for routine edits and one for fine work. Apply the same preset to create a steady style. Be careful not to push colors or brighten too far — that can change yarn hues and make a picture look grainy.
“Edit to reflect the real item. Conservative changes build trust and keep colors true.”
| Tool | Best for | Key feature |
|---|---|---|
| PicMonkey | Quick adjustments | Brightness, contrast, simple filters |
| Snapseed / VSCO | Phone edits | Presets and selective tweaks |
| Photoshop | Branding and final polish | Crop, resize, add logo |
Use background blur sparingly to make the main item stand out. If your DSLR can send shots to your phone via Wi‑Fi, edit on the go. Add decorative fonts from DaFont.com for social headers, but keep product shots honest and true to the original look.
Conclusion
Small, steady improvements in how you frame and edit will lift every listing over time. Use natural light and a simple backdrop to keep the focus on texture and scale. Try a few props for context, but do not overdo it.
Take many photos from different angles with your phone or camera. Spend time on basic editing so colors match real life and your pictures look clean. Edit photos to correct exposure and remove distractions, but keep the result honest.
Practice regularly. Share the story behind each post and your work will connect with buyers. With consistent effort and time, your shop will show the care and detail you put into every piece.